A tutorial by Marin Todorow
Red5 is a multi-platform streaming flash media server based in java. It can be used for various of different purposes including live streaming on your website, live chat similar to Google Hangouts or online presentations. Personally I have seen some online schools based on Moodle using this for their lessons.
You complete the install fairly easy and fast. But before we start there are few requirements:
X86-compatible CPU (Pentium 4, 3.2 GHz or better, Intel Duo Core 2, PentiumD)
1 GB Available Memory
100MB or 1GB Ethernet card
200 MB of available disk space (SATA II)
Root access to the machine
The installation
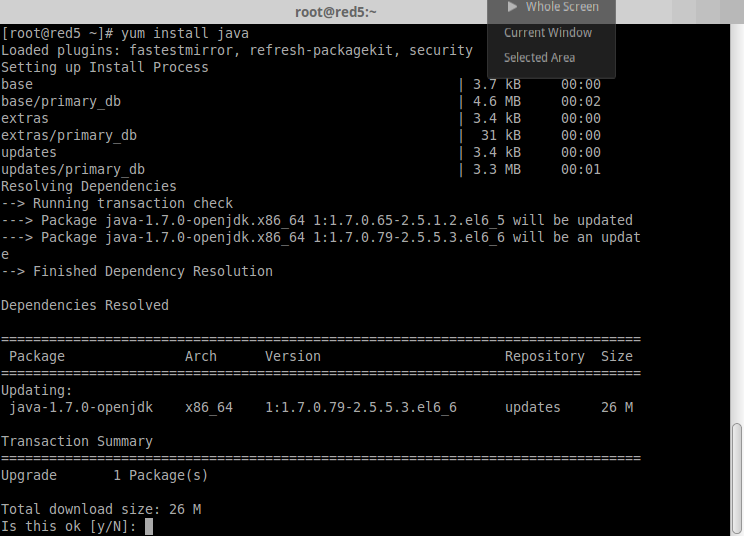
The steps below will show you how to install Red5 on CentOS 6.x. Make sure to run the commands as root. I mentioned earlier that Red5 is Java based so obviously we will need to have Java on our machine. Lets install it by running:
sudo yum install java
Next we will obtain the latest version of Red5 server:
cd /opt/
wget https://github.com/Red5/red5-server/releases/download/v1.0.5-RELEASE/red5-server-1.0.5-RELEASE-server.tar.gztar zxf red5-server-1.0.5-RELEASE-server.tar.gz
For convenience rename the folder to red5
mv red5-server-1.0.5-RELEASE red5
cd red5
Now start the Red5 server in the background by running:
sh red5.sh &
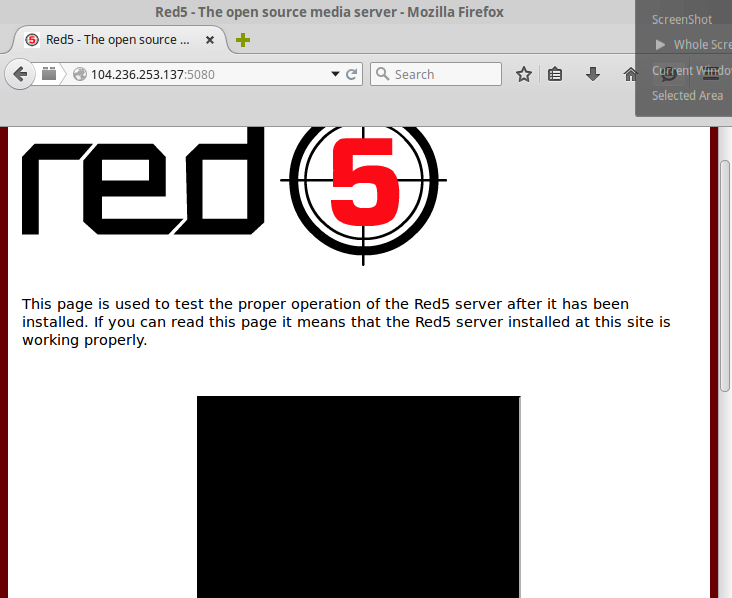
At this point you can access the Red5 media server by using your IP address followed by port :5080 or using a fully qualified domain name. You will see the Red5 welcome page:
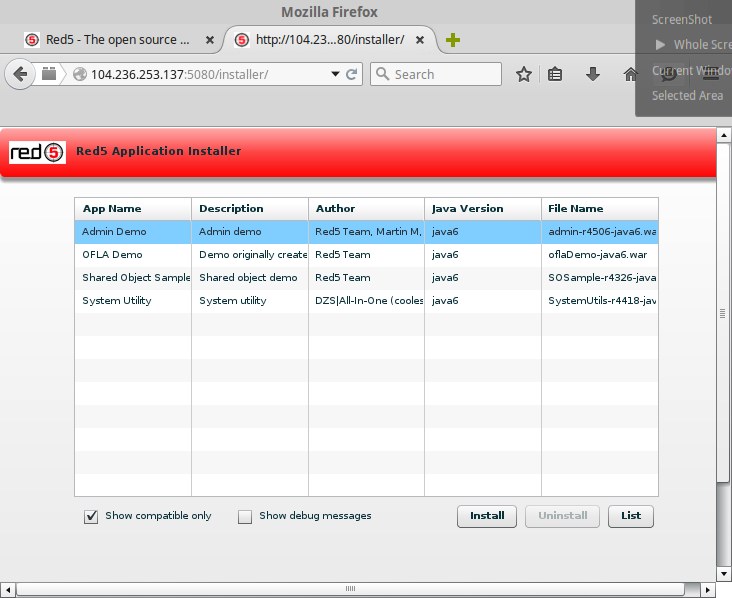
Now we can install some of the demo applications by going to http://your-ip-address:5080/installer/
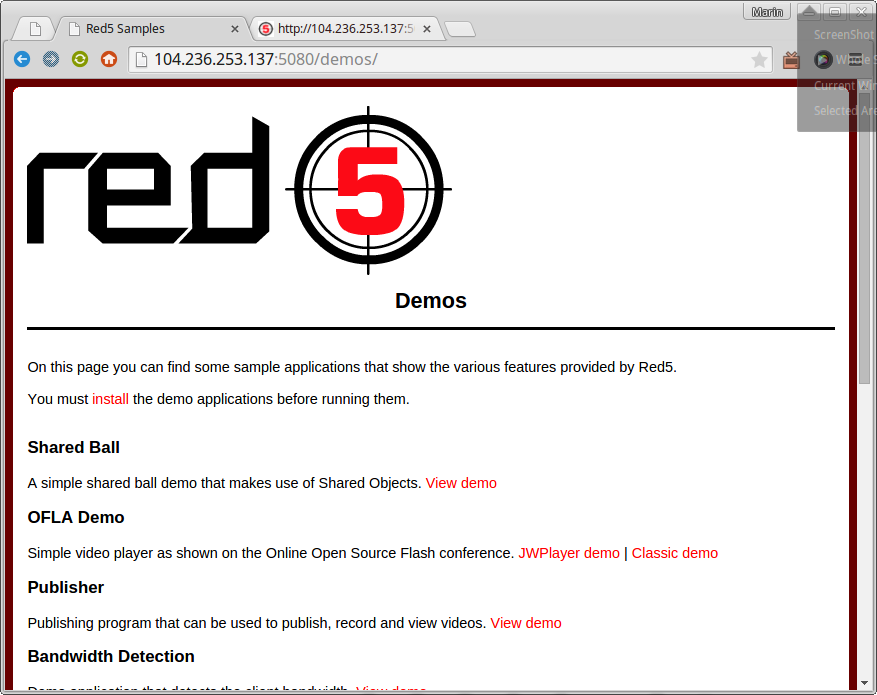
The installation is simple – click on application and then click “install” button. Once you have installed the applications you can go to the demos pages at: http://your-ip-address:5080/demos/ to start the app you wish to test:
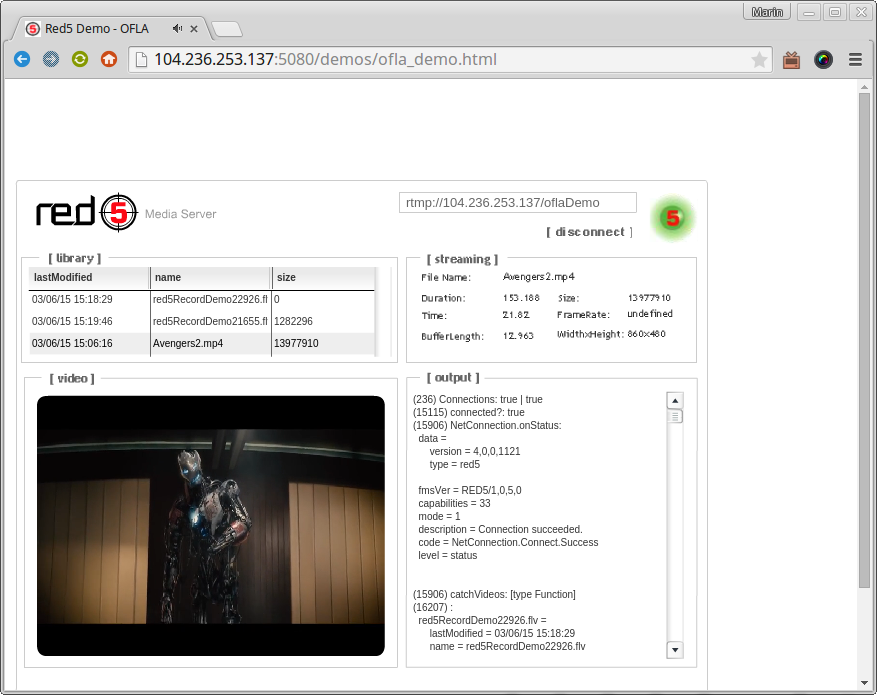
You can check the OflaDemo at http://your-ip-address:5080/demos/ofla_demo.html. You will notice that the server will try to connect to “localhost”. You will need to change this to your IP address, do not use the port here:
The path to the streaming files for this app is:
/opt/red5/webapps/oflaDemo/streams
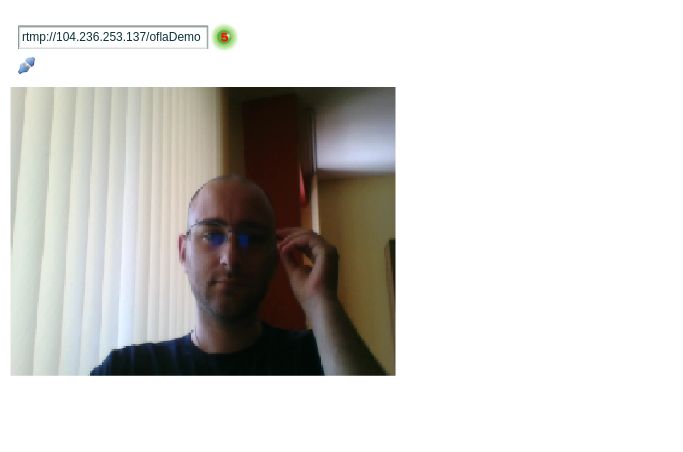
Next thing you may find the interesting SimpleBroadcaster. It is available at http://your-ip-address:5080/demos/simpleBroadcaster.html. This tool can be used for broadcasting content from your camera:
 The good thing is that Red5 can be integrated with multiple platforms/CMS sites. For example you can use Red5 in one-to-many or conference mode with WordPress or Joomla which are one of the most frequently used CMS scripts across the web. There is an easy way to make the integration thanks to the number of plugins developed for those. A simple example for such are the VideoWhisper and CometChat plugins that are frequently used on different sites. Installation of these plugins is out of the scope of this article as the configuration and integration of Red5 within a site using plugins is strongly individual.
In conclusion Red5 is a great choice if you want a free out of the box multipurpose streaming server. As you just saw the installation requires just a few easy steps and the integration with your website can be performed without strong technical knowledge.

