文章有点长,感觉每次写文章都特别啰嗦,如果不想看过程的话直接跳到*动手实践那一步,那边有核心的方法~
富文本编辑器复制 word 文档中的图片
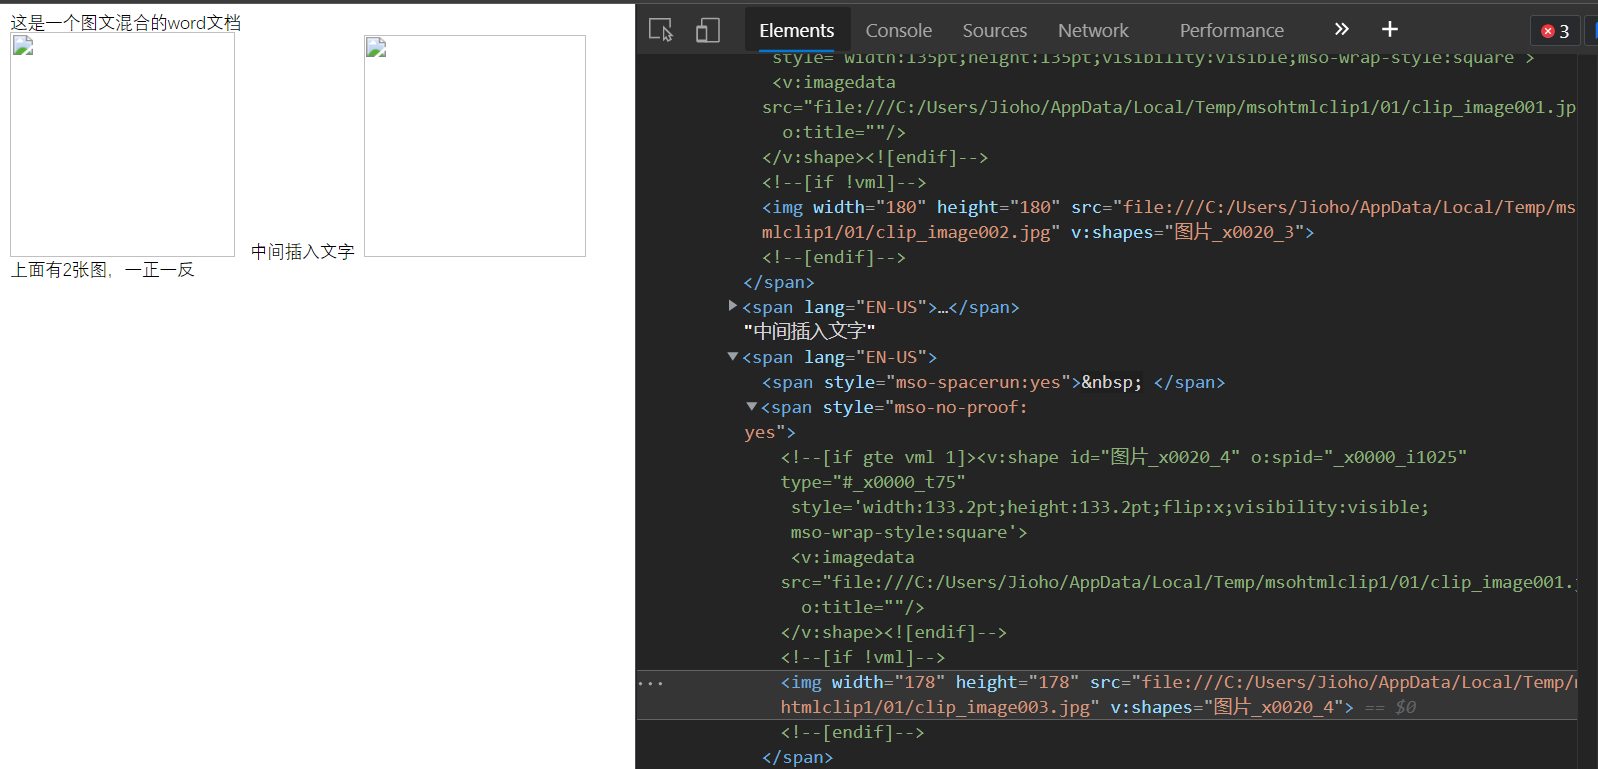
问题点:从 word 文档复制进来的内容的图片都是
file:///协议,这时候如果我们的页面是http://或者https://协议的话,就不允许读取图片了。
除非页面也是本地文件打开的(但是实际项目中基本上是不可能的了):

与 ckeditor 相见恨晚
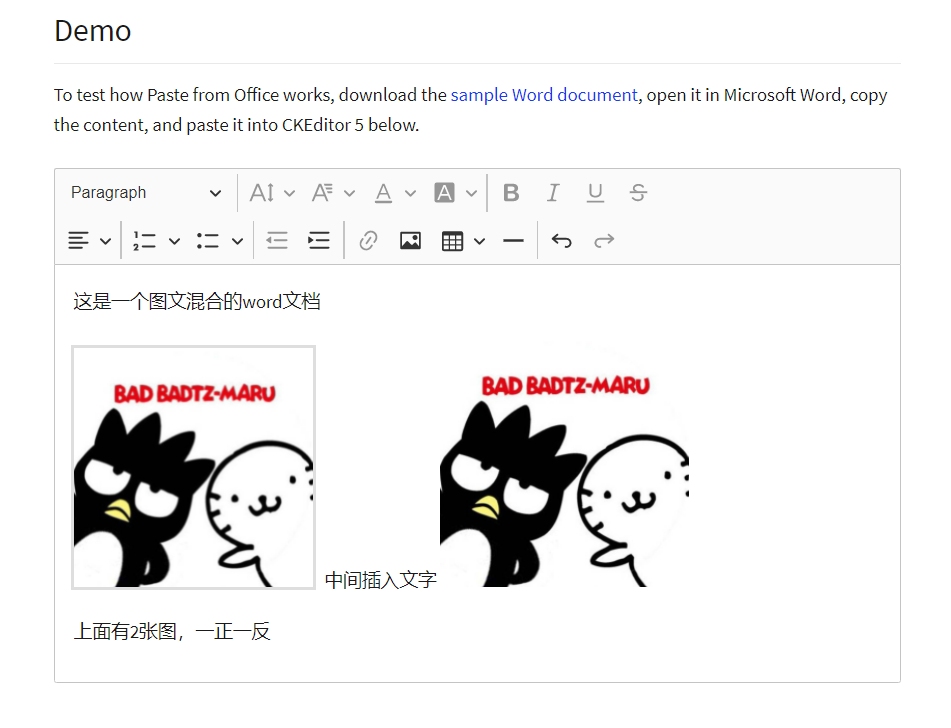
看,ckeditor 就支持!然而这时候的项目已经有太多历史包袱(包括后面新开发的插件,我用的是 tinymce )
倒不是说 tinymce 不好,只是用多了你会发现。。。真的很不好(说来话长,后面记录 tinymce 的时候在吐槽把)
如果你也有编辑器需求,而且没有历史包袱,直接尝试 ckeditor 把
获取图片的前奏
要获取图片,先从剪贴板入手,因为我们的数据源最后是从剪贴板复制过来的。
先了解几个知识点,才能更好理解后面的内容
为什么网站不能直接读取图片?因为安全性:
ckeditor 在怎么强大也不可能从 http/https 协议下的网址读取 file:/// 的文件。原因也很简单,如果能读取的话,岂不是网站能把我们全部的资料都读到?
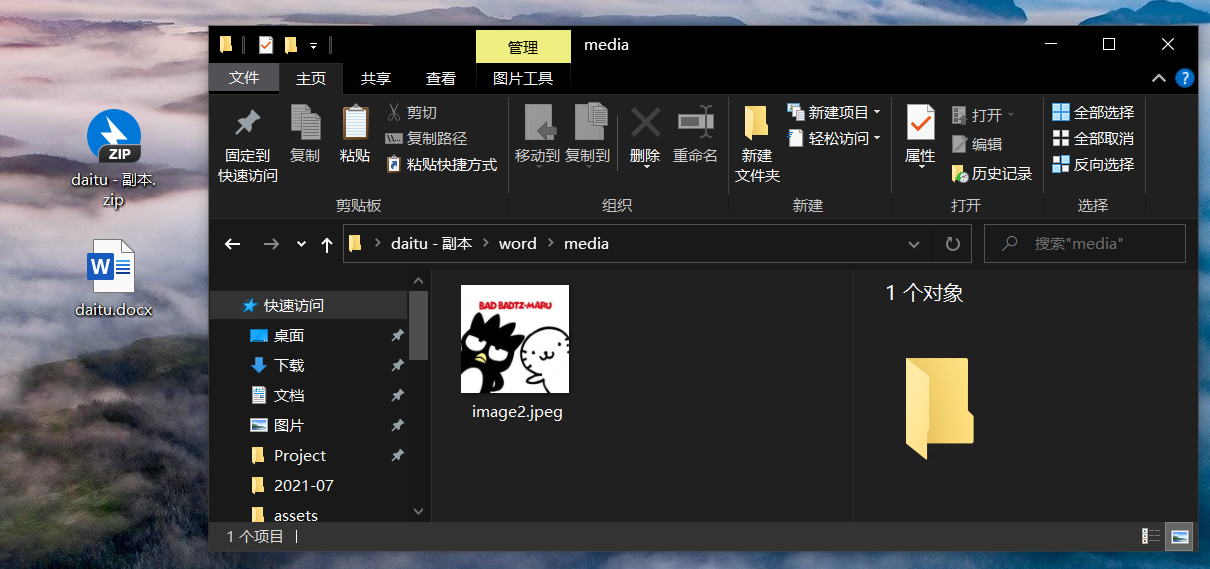
word 文档内部的东西
word 文档其实只需要把后缀改为 .zip。然后打开对应的目录,你会发现图片就存在里面,而且 word 目录下还有一个 webSettings.xml 里面就存放着 word 文档的信息。感兴趣的就自己找一个看看把
关于系统剪贴板/JS 中的 clipboardData
我们经常用到的复制某一段字的功能,其实核心就是用到了 window 子对象 clipboardData 的一个方法:setData()
clipboardData.setData(sDataFormat, sData)
1
sDataFormat:要复制的内容的格式;
sData:要复制的内容。
只是因为 clipboardData 还是实验性功能,所以平时用的不多。接下来要说的东西就和 sDataFormat 息息相关。
获取剪贴板内容
主动获取
缺点:
只能在 https 域名下使用(见下图 1)
页面必须聚焦,鼠标在控制台都不行(见下图 2)
还会被人发现,甚至被人拒绝(见下图 3)
优点:
他能让你获取剪贴板内容。。。
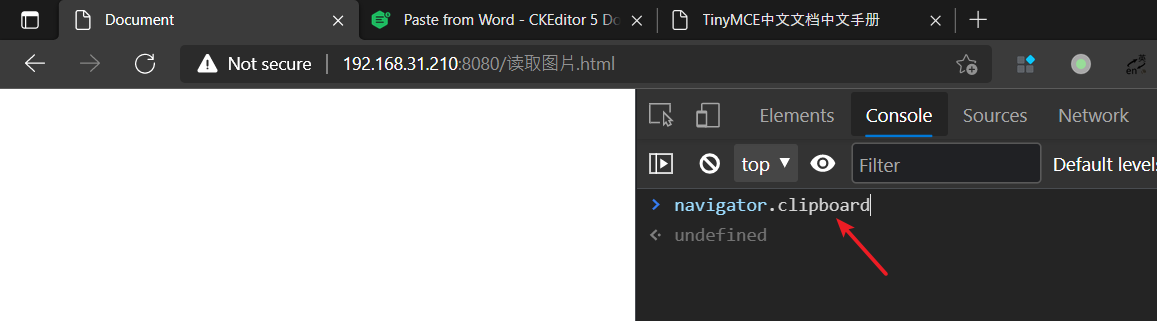


navigator.clipboard
  .readText()
  .then(v => {
    console.log('获取剪贴板成功:', v)
  })
  .catch(v => {
    console.log('获取剪贴板失败: ', v)
  })
1
2
3
4
5
6
7
8
被控获取 监听 ctrl + v / 粘贴事件
使用 event 中的 clipboardData 调用 getData 方法,其中的参数目前我知道的有如下几个
text获取文本text/html获取 html 文本text/plain获取普通文本,效果和 text 一样text/rtf获取 rtf 信息 (不懂就问,啥是 rtf)
window.addEventListener('paste', function(e) {
  const clipdata = e.clipboardData || window.clipboardData
  let data = clipdata.getData('text/html')
  console.log(data)
})
1
2
3
4
5
PS:复制后到页面上随便粘贴一下,不一定要找到输入框,按下 ctrl+v 就行
输出如下:上面还有一大堆乱七八糟的标签,wps 就比 office 干净多了,这个是从 office 复制进来的。

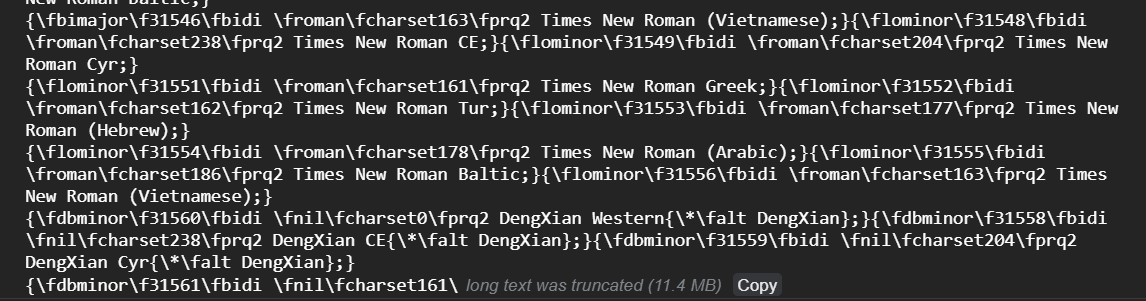
clipdata.getData('text/html')也就是我们富文本用的方法,获取粘贴的内容的 html 代码 注意是 text/html 这里有个坑,后面会说到
clipdata.getData('text/rtf')获取的东西更加乱了,不过里面就记载着我们的图片信息(我的文档就 2 张图片,11mb.可怕)
有了上面的基础知识,我们就能抛开富文本编辑器,先来实现一个文章最前面的截图,粘贴显示 word 文档的功能。
<body>
  <p>请按下ctrl+v粘贴内容</p>
  <div id="preview"></div>
  <script>
    window.addEventListener("paste", function (e) {
      const clipdata = e.clipboardData || window.clipboardData;
      document.querySelector('#preview').innerHTML = clipdata.getData("text/html")
    });
  </script>
</body>
</html>
1
2
3
4
5
6
7
8
9
10
11
获取 word 文档中的图片
下面根据 ckeditor 的源码来学习,具体的代码是在
GitHub:ckeditor5-paste-from-office
或者从 npm 下载:@ckeditor/ckeditor5-paste-from-office
分析源码:
src/index.js -> src/pastefromoffice.js (在 init 函数中,执行了一个 activeNormalizer.execute方法)-> src/normalizers/mswordnormalizer.js
到这里就看到了一个 replaceImagesSourceWithBase64 方法,这就是今天学习的核心
replaceImagesSourceWithBase64 方法
该方法在:src/filters/image.js
在 replaceImagesSourceWithBase64 函数中,和图片相关的方法是:
findAllImageElementsWithLocalSource查找全部的 file:/// 开头的图片
createRangeIn、new Matcher、这些方法都不用太过于关注,因为复制进来的都是文本,这些可能是 ckeditor 核心代码中转换为 dom 节点的方法
我们直接粗暴点渲染为真实 dom,然后在操作真实 dom 就是了
第 12 行,获取 src 是 file:// 开头的 dom 节点
function findAllImageElementsWithLocalSource(documentFragment, writer) {
  const range = writer.createRangeIn(documentFragment)

  const imageElementsMatcher = new Matcher({
    name: 'img'
  })

  const imgs = []

  for (const value of range) {
    if (imageElementsMatcher.match(value.item)) {
      if (value.item.getAttribute('src').startsWith('file://')) {
        imgs.push(value.item)
      }
    }
  }

  return imgs
}
1
2
3
4
5
6
7
8
9
10
11
12
13
14
15
16
17
18
19
接着执行
replaceImagesFileSourceWithInlineRepresentation方法。在这之前还会执行extractImageDataFromRtf
extractImageDataFromRtf 方法
同样是在 src/filters/image.js
这部分代码是把我们从剪贴板中 getData('text/rtf') 获取到的值做一个加工,提取里面的图片信息(我承认没看懂提取的是啥,我对 rtf 也不那么了解,哈哈哈哈)
更新一点点东西(关于正则无法匹配到最新的图片节点)
regexPictureHeader 这段正则中,在以前的时候还是可以用的,可能最近 rtf 又更新了,导致匹配失败,无法生成图片
于是进过一番探索,根据旧的正则自己删减了一部分匹配规则,进过测试 office 和 wps 都能识别。
旧的写法: const regexPictureHeader = /{\pict[\s\S]+?\bliptag-?\d+(\blipupi-?\d+)?({\*\blipuid\s?[\da-fA-F]+)?[\s}]?/;
新的写法:const regexPictureHeader = /{\pict[\s\S]+?({\*\blipuid\s?[\da-fA-F]+)[\s}]/;
function extractImageDataFromRtf(rtfData) {
  if (!rtfData) {
    return []
  }

   // 旧的写法
  // const regexPictureHeader = /{\\pict[\s\S]+?\\bliptag-?\d+(\\blipupi-?\d+)?({\\\*\\blipuid\s?[\da-fA-F]+)?[\s}]*?/
  // 新删减后的写法
  const regexPictureHeader = /{\\pict[\s\S]+?({\\\*\\blipuid\s?[\da-fA-F]+)[\s}]*/
  const regexPicture = new RegExp('(?:(' + regexPictureHeader.source + '))([\\da-fA-F\\s]+)\\}', 'g')
  const images = rtfData.match(regexPicture)
  const result = []

  if (images) {
    for (const image of images) {
      let imageType = false

      if (image.includes('\\pngblip')) {
        imageType = 'image/png'
      } else if (image.includes('\\jpegblip')) {
        imageType = 'image/jpeg'
      }

      if (imageType) {
        result.push({
          hex: image.replace(regexPictureHeader, '').replace(/[^\da-fA-F]/g, ''),
          type: imageType
        })
      }
    }
  }

  return result
}
1
2
3
4
5
6
7
8
9
10
11
12
13
14
15
16
17
18
19
20
21
22
23
24
25
26
27
28
29
30
31
32
33
34
replaceImagesFileSourceWithInlineRepresentation
同文件下的方法
传入的参数第一个是 src 为file://的图片节点数组,第二个从 rtf 提取的图片信息数组,第三个就是 ckeditor 自己的方法了,用来显示文本的,不用管他
还用到了一个 _convertHexToBase64 方法,把 hex 转换为 base64
接着就是一顿循环了,对应的节点替换为对应的 base64,设置到图片节点的的 src 上,只是这里他们用了自身封装的 writer。
function replaceImagesFileSourceWithInlineRepresentation(imageElements, imagesHexSources, writer) {
  // Assume there is an equal amount of image elements and images HEX sources so they can be matched accordingly based on existing order.
  if (imageElements.length === imagesHexSources.length) {
    for (let i = 0; i < imageElements.length; i++) {
      const newSrc = `data:${imagesHexSources[i].type};base64,${_convertHexToBase64(imagesHexSources[i].hex)}`
      writer.setAttribute('src', newSrc, imageElements[i])
    }
  }
}

function _convertHexToBase64(hexString) {
  return btoa(
    hexString
      .match(/\w{2}/g)
      .map(char => {
        return String.fromCharCode(parseInt(char, 16))
      })
      .join('')
  )
}
1
2
3
4
5
6
7
8
9
10
11
12
13
14
15
16
17
18
19
20
动手实践,获取图片信息并展示
上面分析了一些 ckeditor 代码之后,其实我们要用的也就是
findAllImageElementsWithLocalSource这个方法被改造了一下,直接读取实际的 dom 节点,拿到图片节点
replaceImagesFileSourceWithInlineRepresentation这个方法在最后赋值的时候也改了下,因为我们已经记录了实际的 dom 节点,所以直接使用 .setAttribute(‘src’,newSrc)
extractImageDataFromRtf_convertHexToBase64
整理过后的代码如下:
<body>
  <p>请按下ctrl+v粘贴内容</p>
  <div id="preview"></div>

  <script>
    window.addEventListener("paste", function (e) {
      const clipdata = e.clipboardData || window.clipboardData;
      document.querySelector('#preview').innerHTML = clipdata.getData("text/html")
      let rtf = clipdata.getData('text/rtf')

      let imgs = findAllImageElementsWithLocalSource()

      replaceImagesFileSourceWithInlineRepresentation(imgs, extractImageDataFromRtf(rtf))

    });

    function findAllImageElementsWithLocalSource() {
      let imgs = document.querySelectorAll('img')
      return imgs;
    }

    function extractImageDataFromRtf(rtfData) {
      if (!rtfData) {
        return [];
      }

       // 旧的写法
	  // const regexPictureHeader = /{\\pict[\s\S]+?\\bliptag-?\d+(\\blipupi-?\d+)?({\\\*\\blipuid\s?[\da-fA-F]+)?[\s}]*?/
	  // 新删减后的写法
	  const regexPictureHeader = /{\\pict[\s\S]+?({\\\*\\blipuid\s?[\da-fA-F]+)[\s}]*/
      const regexPicture = new RegExp('(?:(' + regexPictureHeader.source + '))([\\da-fA-F\\s]+)\\}', 'g');
      const images = rtfData.match(regexPicture);
      const result = [];

      if (images) {
        for (const image of images) {
          let imageType = false;

          if (image.includes('\\pngblip')) {
            imageType = 'image/png';
          } else if (image.includes('\\jpegblip')) {
            imageType = 'image/jpeg';
          }

          if (imageType) {
            result.push({
              hex: image.replace(regexPictureHeader, '').replace(/[^\da-fA-F]/g, ''),
              type: imageType
            });
          }
        }
      }

      return result;
    }

    function _convertHexToBase64(hexString) {
      return btoa(hexString.match(/\w{2}/g).map(char => {
        return String.fromCharCode(parseInt(char, 16));
      }).join(''));
    }

    function replaceImagesFileSourceWithInlineRepresentation(imageElements, imagesHexSources, writer) {
      // Assume there is an equal amount of image elements and images HEX sources so they can be matched accordingly based on existing order.
      if (imageElements.length === imagesHexSources.length) {
        for (let i = 0; i < imageElements.length; i++) {
          const newSrc = `data:${imagesHexSources[i].type};base64,${_convertHexToBase64(imagesHexSources[i].hex)}`;

          imageElements[i].setAttribute('src',newSrc)
        }
      }
    }

  </script>

</body>

</html>
1
2
3
4
5
6
7
8
9
10
11
12
13
14
15
16
17
18
19
20
21
22
23
24
25
26
27
28
29
30
31
32
33
34
35
36
37
38
39
40
41
42
43
44
45
46
47
48
49
50
51
52
53
54
55
56
57
58
59
60
61
62
63
64
65
66
67
68
69
70
71
72
73
74
75
76
77
78
锦上添花,实现图片上传
进过上面一系列方法后,我们确实是拿到了 base64 格式的图片,可是这显示未免也太长了一些,如果要实现上传,还得后端给我们重新起一个 base64 图片上传的方法。。。
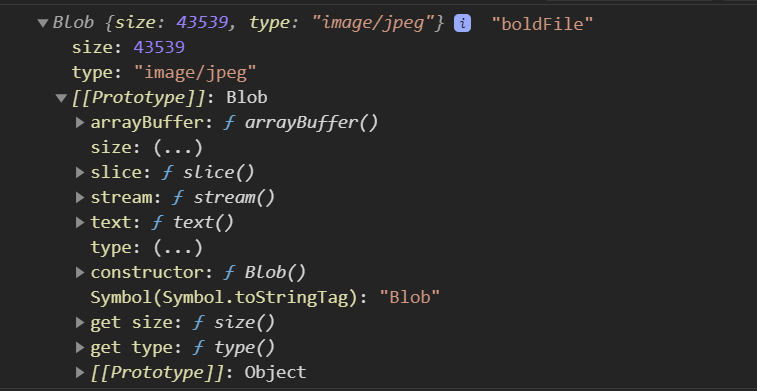
base64 转换为 blod 对象
blod 就是我们平时用 input 选择图片后拿到的 File 类型(不知道有没有解释错,大概就是这个意思)
方法如下:
/** 将base64转换为文件对象
 *  @param {String} base64 base64字符串
 *
 */
function convertBase64ToBlob(base64) {
  var base64Arr = base64.split(',')
  var imgtype = ''
  var base64String = ''
  if (base64Arr.length > 1) {
    //如果是图片base64,去掉头信息
    base64String = base64Arr[1]
    imgtype = base64Arr[0].substring(base64Arr[0].indexOf(':') + 1, base64Arr[0].indexOf(';'))
  }
  // 将base64解码
  var bytes = atob(base64String)
  //var bytes = base64;
  var bytesCode = new ArrayBuffer(bytes.length)
  // 转换为类型化数组
  var byteArray = new Uint8Array(bytesCode)

  // 将base64转换为ascii码
  for (var i = 0; i < bytes.length; i++) {
    byteArray[i] = bytes.charCodeAt(i)
  }

  // 生成Blob对象(文件对象)
  return new Blob([bytesCode], { type: imgtype })
}
1
2
3
4
5
6
7
8
9
10
11
12
13
14
15
16
17
18
19
20
21
22
23
24
25
26
27
28
效果如下
优化显示的 URL
上传问题是解决了,可是那么长的 base64 看着实在是糟心,还好我们还有 ObjectURL
一下子清爽多了: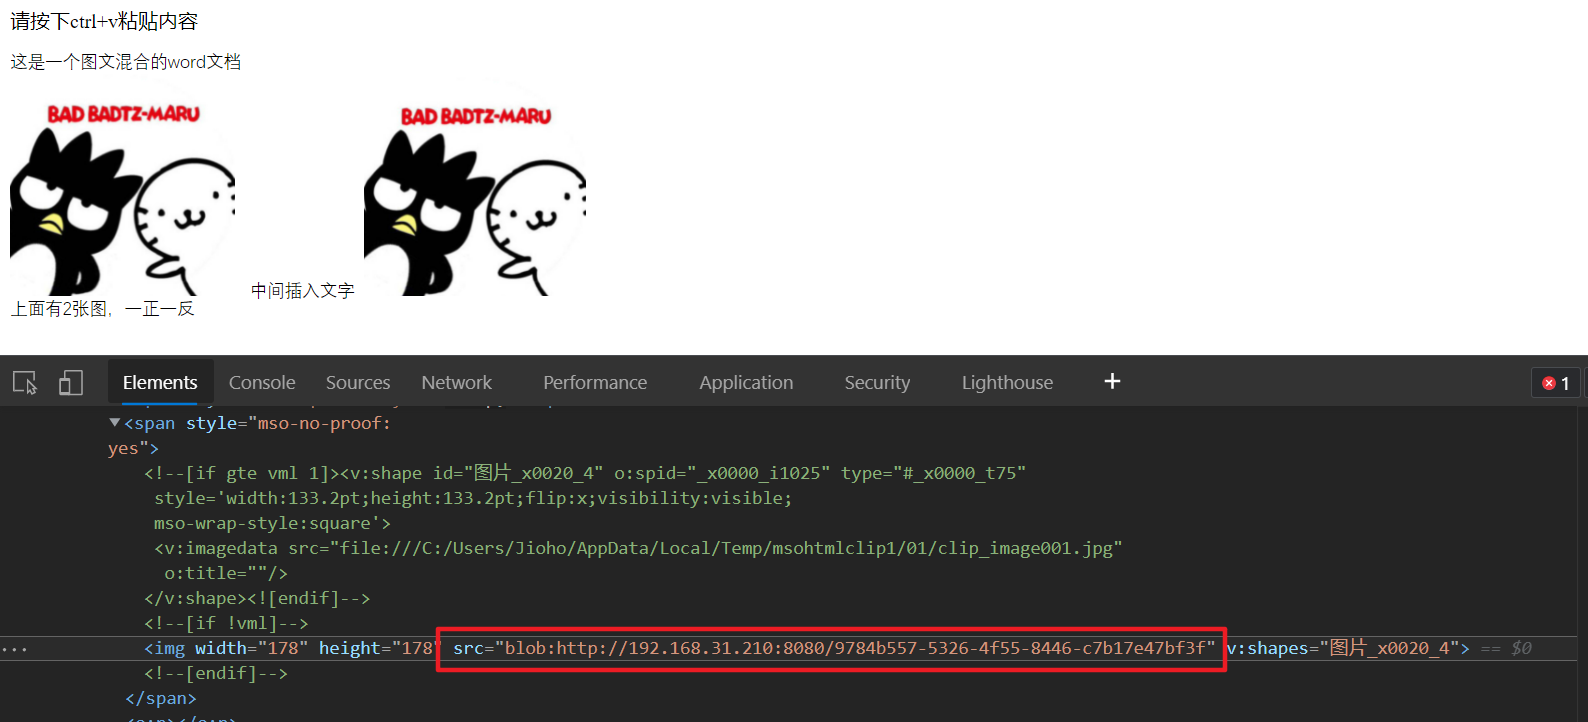
let boldFile = convertBase64ToBlob('base64的字符串')
// 直接使用 URL.createObjectURL 生成
imageElements[i].setAttribute('src', URL.createObjectURL(boldFile))
1
2
3
blod 转 base64
既然都说到这里了,还有一个转换就顺便说了把
function readBlobAsDataURL(blob, callback) {
  var a = new FileReader()
  a.onload = function(e) {
    callback(e.target.result)
  }
  a.readAsDataURL(blob)
}

readBlobAsDataURL('blod文件对象', function(base64) {
  console.log(base64)
})
1
2
3
4
5
6
7
8
9
10
11
图片读取,图片显示,包括图片转换为 blod 对象也有了,只要图片上传后,在回显一下,就齐活了~
总结
核心原理包括 ckeditor 部分源码解读就结束了,当然还有很多细节没考虑,包括一些标签的转换,标签过滤,样式过滤,最主要的是要判断复制进来的到底是不是 word 文档,还有如果拿不到 rtf 等各种情况,都可以研究下 ckeditor 的代码
流程总结
监听粘贴事件,获取剪贴板的数据(包括
text/html和text/rtf)拿到 html 后把
file://开头的 img 节点找出来,然后使用转换方法把rtf对应的图片信息也一一对应的找出来使用 hex 转 base64 的方法获取到图片的 base64 信息,然后在看需要进行转换
彩蛋 - 下集预告
上面说到有一个坑,就是我们获取的 getData('text/html') 和 getData('text/rtf')
这 2 个东西并不是凭空出现的,而且人为设置的(不要觉得复制的任何东西都有 text/html)
这些东西都是在设置剪贴板的时候 setData('text/html')。设置了有什么,才能拿到什么(因为我在富文本的另一个功能中踩到这坑了,包括 safari 浏览器也有坑!)
下一篇文章就来写写这个剪贴板的坑!
复制 word 文档图片原理的文章真的好少~希望我这篇能帮到你
来自 https://blog.csdn.net/Jioho_chen/article/details/119223556